It’s been nearly 2.5 years since I started this build, and it has finally paid off. The parts have been bought, sold and horse traded for until the stars all lined up to allow its completion.
The first thing I bought was the Krieger barrel. It took 6 months to arrive after the order but it came in 34″ of chrome-moly with a varmint taper & 1 in 8″ twist.
Here are the other items required for completion:
- Remington 700 long action receiver & bolt
- Bobby Hart Accublock LRT Laminated heavy barrel stock
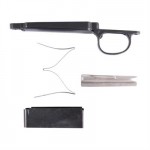
- Remington 700 Adl-To-Bdl Kit, long action
- Gunsmith to chamber the barrel, target crown, blueprint & square the action, bolt face work and assemble barrel to action.
- Blueing
Why a wood stock? I hate plastic guns. I chose the Bobby Hart Accublock LRT Laminated heavy barrel stock for a few reasons. The shape, the solid aluminum bedding block, high comb, fat fore-end and great laminate color was what I wanted. I prefer the matte finish, and chose the “Birch” colors:

Mine turned out with a lighter color scheme, which I love. This is one reason I like wood stocks: They are all different! Once I had the barrel and stock, I went after the action. 700 actions alone are rare as hen’s teeth, so I bought a 30.06 DM which I later had to sell, then found a plain-jane unfired 30.06 ADL with plastic stock in the local classifieds for $250. Just to see how it looked, I put it into the stock. I got the adl-bdl conversion kit put in and it came together as a fine rifle.


As it sat this rifle was no slouch, making quarter sized groups at 100M. Once I had the funds for the gunsmithing I took the 700 and barrel to my local gunsmith. The initial chamber ream chattered so he had to cut a few inches off and try again with a new reamer, which left exactly 30″ of barrel. Off to the bluer, and when it was done it was ready for the stock. I traded the old stock and barrel for some 9MM pistol ammo, so they weren’t just left to gather dust.

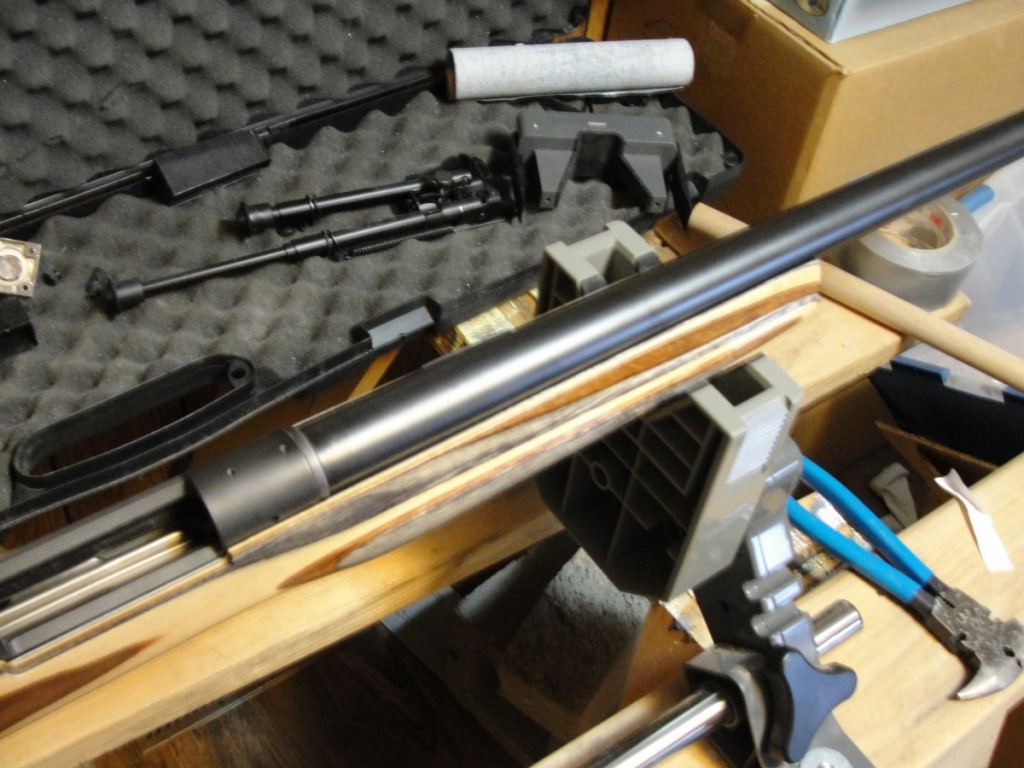
This fat pipe doesn’t fit into the stock due to it’s large diameter so I had to channel it out to fit. I used some dowels with 120 grit sandpaper to do the work. I sanded, test fit, sanded, test fit, over and over for about 9 total hours. I had to be careful not to just hog out a straight channel, I made it match the taper of the barrel so there are no gaps or tight spots.

The metal bedding block had to be tight against the receiver and the barrel area had to leave a very thin gap between the wood and barrel. The old fashioned measurement tool is to slide a dollar bill under the barrel, it should barely slide through. Mine wound up being just enough for the bill to slide all the way up to the recoil lug. The barrel does not contact the stock, this is called a ‘free-floating barrel’. We’ll do a post on why you want this another time. I used some tung oil on the sanded wood to protect it.

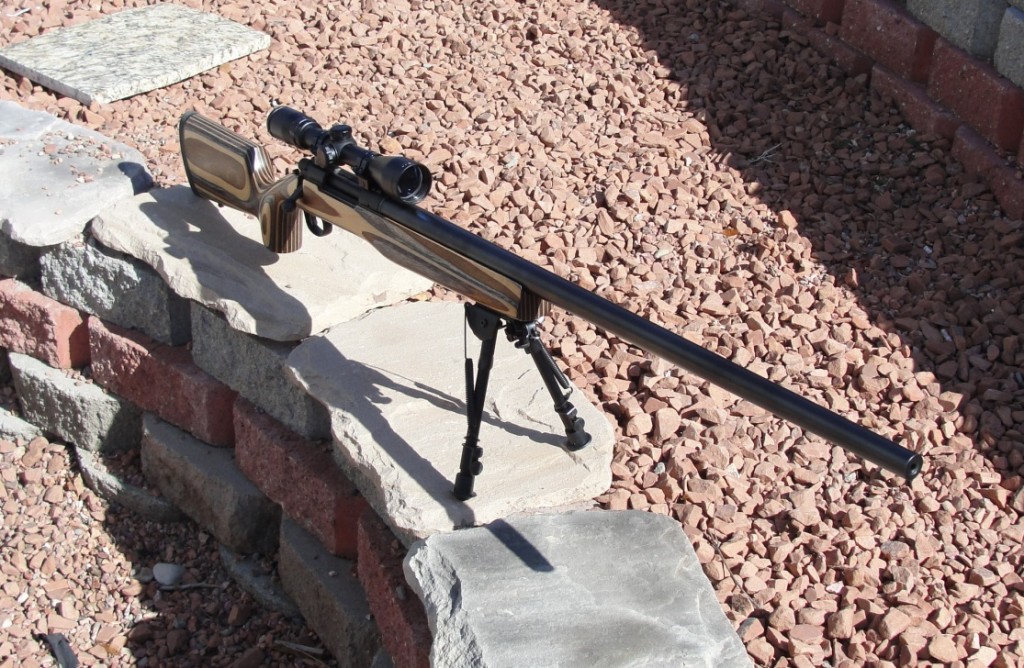
Once the receiver fit tight into the block and the barrel was floating, I put it all together and she’s ready for the range!


3 Responses to Building a Remington 700 in 6.5×55 Swedish Mauser Part 2